Bare Minerals - Secret Bottom (How to get all the mineral makeup out of the sifter jar)

I've been wearing Bare Minerals makeup now for about 8 years. 

Wow.  That makes me feel old.

If you aren't familiar with Mineral makeup, and are looking for something new in your beauty routine, I highly recommend it. It's light, and doesn't feel oily, and since I started using it, my face has completely been devoid of acne...although - we did just determine that I am pretty dang old...

Anyway - that isn't the reason for this post.

If you have worn Bare Minerals brand specifically for a while, you may have noticed that about two years ago they changed the way their little powder canisters seal.  Where they USED to have a nifty little sifter that you could pop out when your makeup was running low to get the last few bits out - now they are completely sealed up top leaving disappointed cheapskates makeup wearers like me completely frustrated at leaving those last few days worth of makeup in the jar.

So one day, while in a Bare Minerals store purchasing some pretty sparkley silver eye shadow (that my daughter immediately started calling crushed-up-Edward - I love that kid) I brought up the frustration to the girl behind the counter.  To which she said...

"Just flip it over and take out the bottom."

WHAT????


Voila!  You sure can!

Now I'm wishing I had saved all those past jars.  Oh well -now I know!


Cleaning with Oil Paste

Alright - so I set out today to do some heavy cleaning.  My house has been slightly neglected (read - VERY neglected) over the past few months while I try to figure out how to be a mom, student, wife, friend, business owner...etc. You know the feeling, right?

Anyway, the home we live in is a foreclosure. Or, it was, we own it now.  There have been several neglected projects that we keep meaning to do, but something else always comes up.  After a long weekend of cleaning and reorganizing the garage and storage space, I finally decided enough was enough, and set out to tackle some of those jobs I've been avoiding...namely - cleaning the kitchen cabinet faces from years worth of grime.

My mother used to make a paste of baking soda and water to clean surfaces like this, and I tried that.  No go.  The cabinets were covered with oil and grease from who knows how long ago and it just wasn't budging to my satisfaction.

It was time to get creative.

I remember from 8th grade science that oils will will help clean up other oils.  Think about it - water will run off of oil, not penetrating or getting through the icky sticky barrier.  Even with an abrasive substance mixed in, it still won't fully remove the residue.  In order to penetrate and get down to the base of the issue, you need to mix a like substance with it so it won't simply glide over the top of the molecule...

clear as mud?

I thought so.

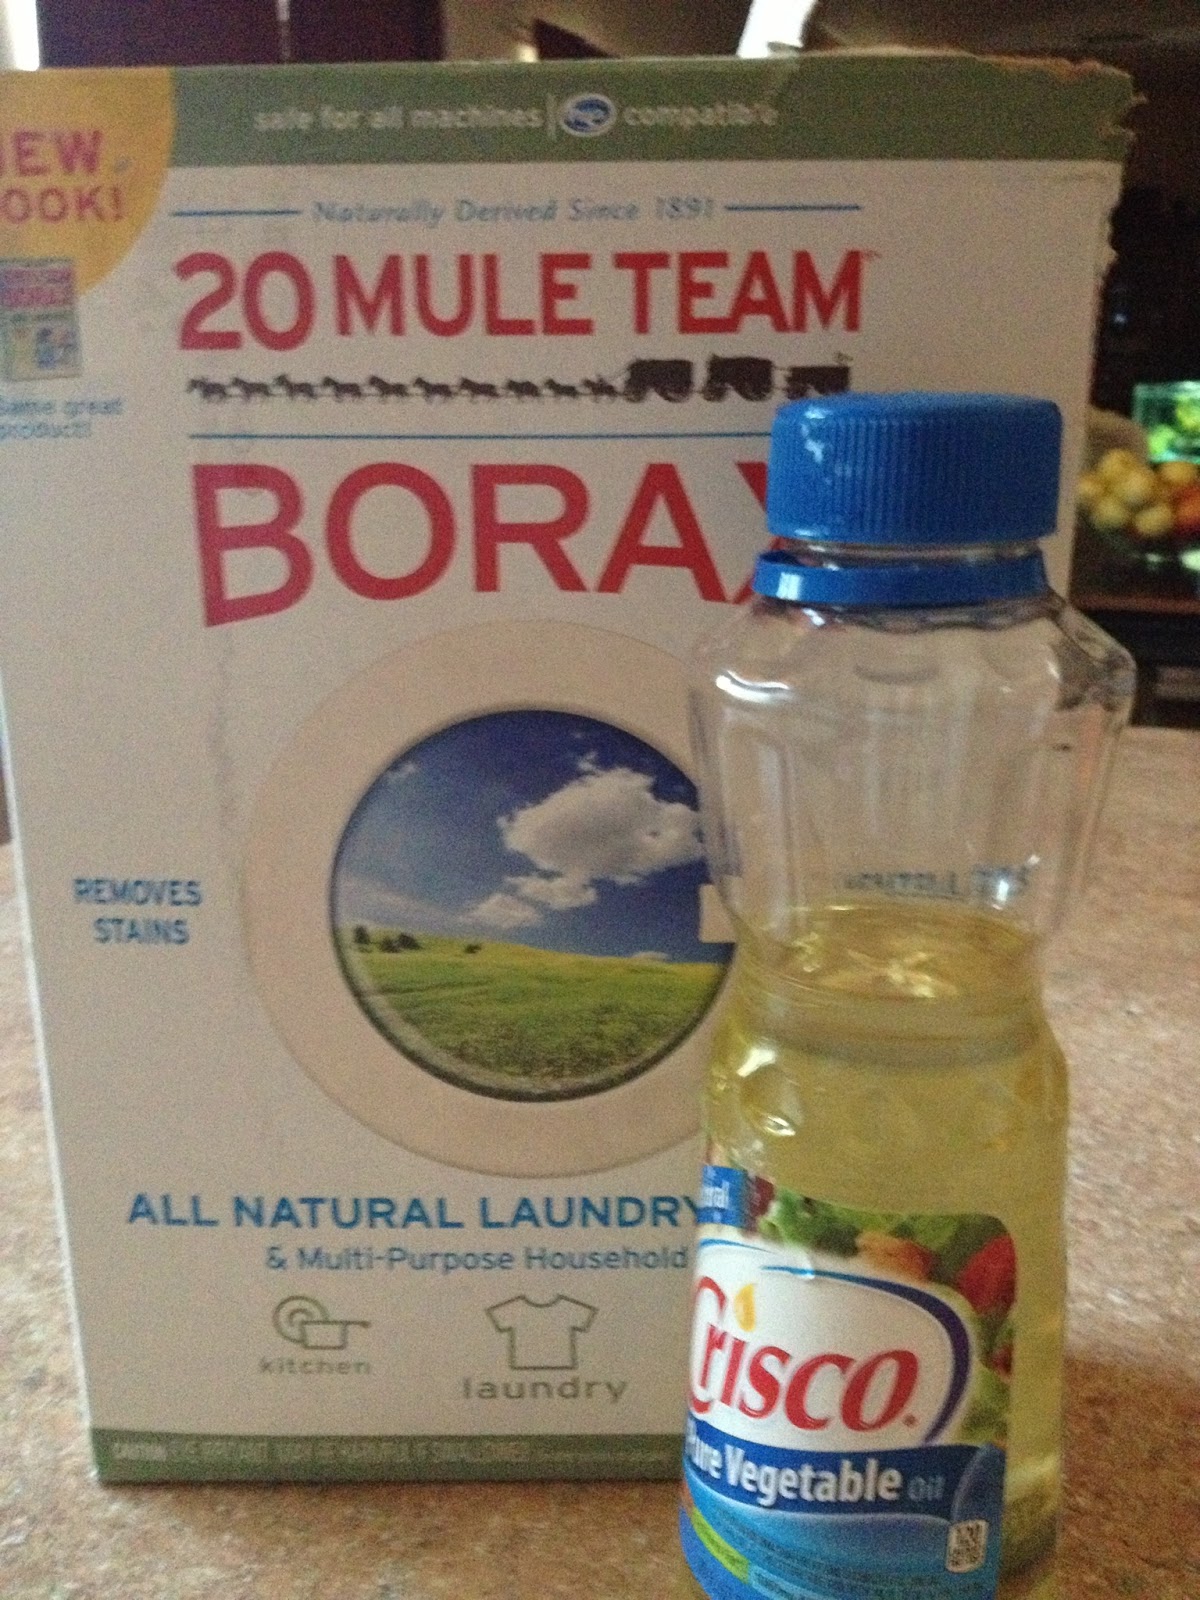
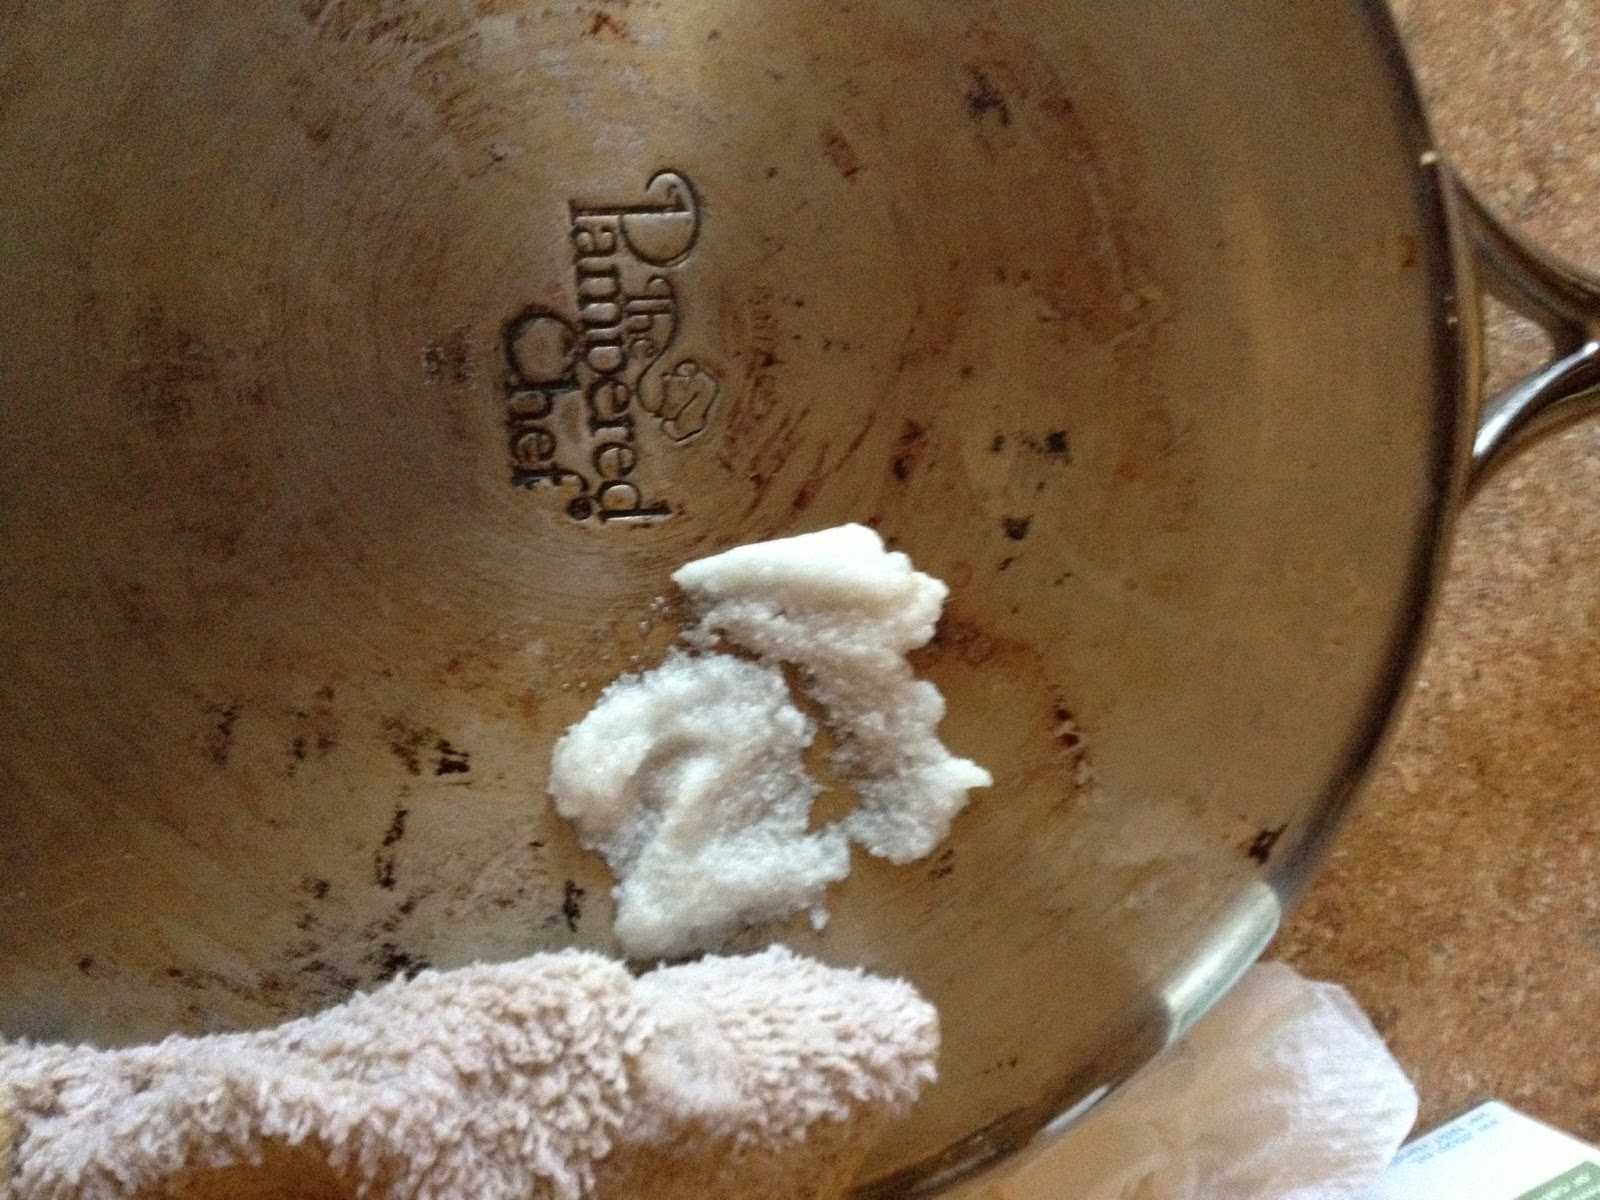
Anyway, I created a paste of Borax and vegetable oil... (I was out of baking soda, and I like Borax better for tough jobs...)


Next I schmeeered it on the cabinet face...scrubbed and voila!  Clean! (sorry, no photos of this, apparently they didn't turn out. :( )

The dangerous part....I couldn't stop cleaning with it!  I cleaned the surface of my flat top stove...


(Note I only cleaned half so you could see the difference...)
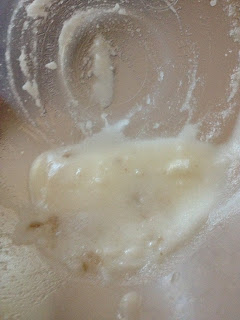
Then....My stainless steel pans...


Last...the textured handles on my refrigerator....

(admittedly not a great photo, but if you look close you see the one on the left is
free of hand prints and grime! yay!)


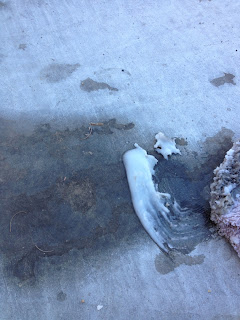
Yes, I'm seriously happy about this new found cleaning paste.  I do believe I will be cleaning baseboards next.  This house has serious dirt to remove.  I'm even considering using this to clean the oil spots out in the driveway...I'll let you know if it works.

Happy Cleaning!

UPDATE!

So I decided to try it out on the oil stains in the driveway...and.....it totally worked!  I don't know what else this paste will clean, I just know I'm absolutely in love with it.


Litter Kwitter Update - Stage TWO.

imageSo, Sly and I have moved into stage two of our Litter Kwitter journey. 

One thing I'd like to mention here - if you do intend to try out this Litter Kwitter thing - make sure that you know that your kitten is going to throw litter EVERYWHERE.

Also - make sure you have a slotted spoon you NEVER, and I mean EVER plan to use again (even when you have people over that you don't like. It isn't nice, or sanitary.)  in the kitchen because the small grooves in the pan make it next to impossible to get anything bigger than a small slotted spoon into it to clean out your kitty's business.

Anyway - moving on -

we've moved on to stage two.  The Litter Kwitter is still in stage RED (a solid ring that fits inside the toilet seat cover) but it has been moved up onto the toilet.

At first Sly was apprehensive.

Then he realized that he can kick and throw litter as hard as his little paws will allow and it hits the wall with a fun popping sound.

Yea, that's been entertaining.

He's also realized that because we have an elongated toilet, the Litter Kwitter doesn't exactly fit the whole hole...so the small one inch of space between it and the back of the toilet seat is PERFECT for his little paws to go thru and play with the water.

That has also been fun.

This stage is definitely not for the weak of heart - it is MESSY.  And keeping the thing clean is almost more work than potty training a three year old child.  BUT - at least it's a step in the right direction, and YES, he has used it today  - which is a positive step in the right direction.

I am just hoping he doesn't figure out how to get his arm underneath it and flip it off the toilet seat. 

Because yes, right now, that is my biggest fear.  That, and the dog remembering that she likes the litter box as well.  She's not quite as agile as a cat and well - that could only end badly.


Master of Mom Template by Ipietoon Cute Blog Design and Bukit Gambang